

Pumpkin is one of the most versatile vegetables with which you can make not only soups and curries but also other infused dishes like gnocchi, pasta, and so on. On top of all these, pumpkins can be found in three forms- fresh, canned, and dried. Today, we will be mainly talking about the last type since it has become one of the most used types worldwide. Generally, people buy the dried version from the market. It has recently been observed that the dried market pumpkins don’t taste too good to infuse their flavors in the dishes. That’s why today, we will be learning about how you can make the dehydrated pumpkin and then preserve them for later use. We will also discuss some of the common recipes that famous chefs make using the vegetable’s dried version.
Table of Contents
A Brief About The Pumpkin Vegetable
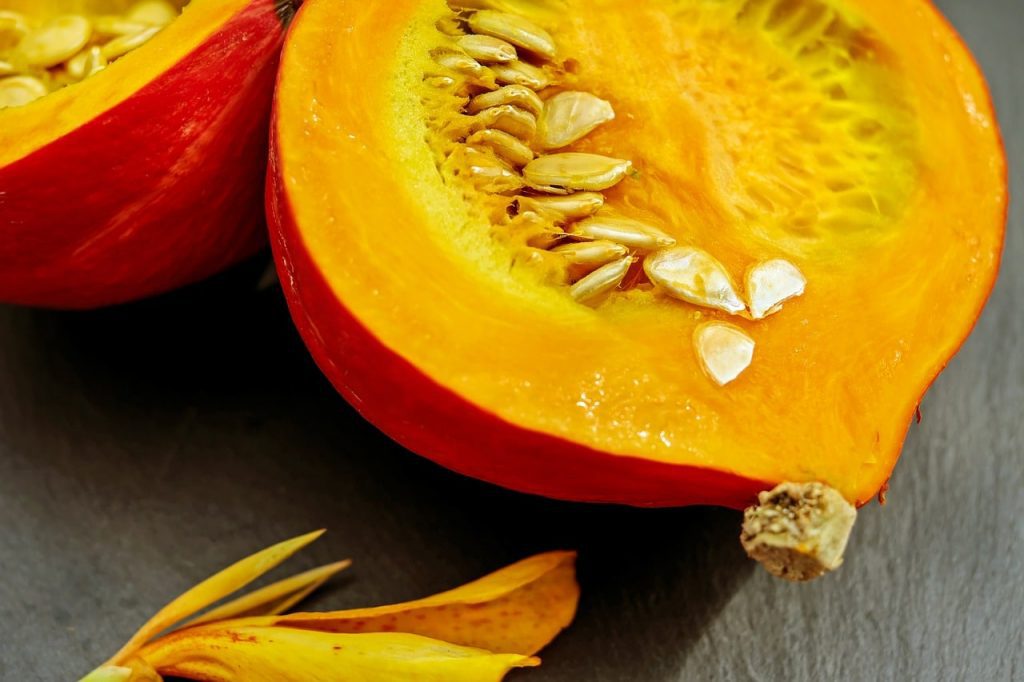
Pumpkin was first cultivated by modifying the genes of the winter squash vegetable. This vegetable was vulnerable in hot weather and hence couldn’t be used in the summer seasons. That’s why genetic modifications were done under a controlled environment, which led to the growth of the more versatile and more robust cultivar of the squash. This variety came to be known as the pumpkin- a smooth, round-shaped vegetable with yellow to orange flesh used in multiple dishes in international cuisine.
Pumpkins are mostly grown in the country’s backyard gardens since the entire cultivation process isn’t complicated to achieve. Initially, the vegetable was native to Northern America, but soon, the use of the fleshy vegetable spread to the entire world, and now various forms of foods are being made from pumpkin.
Top Varieties Of Pumpkin Used In Cooking
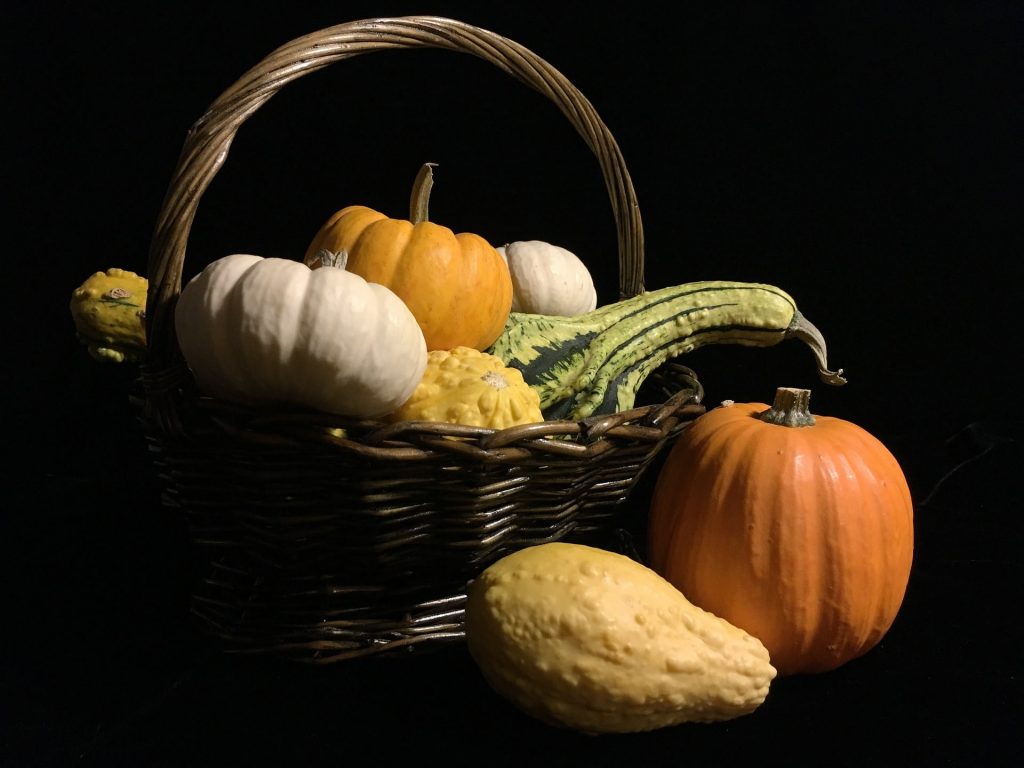
Pumpkin can be found in different varieties, and hence, you can make dried pumpkins of various types, either in a solo or mixed form. But, before studying the ways to dehydrate the vegetable, let’s learn a bit more about the various types that are available in the market.
1. Butternut – With a thin peel, you can easily roast them for your dishes. The outer skin has an orange-beige color shade, with its flesh being bright in color. Ripened butternuts usually have an orange flesh while the raw ones have yellow flesh. The name does justice to the vegetable type since the pumpkin tastes like butter, thanks to its smooth texture and feel.
2. Kent pumpkin – This variety has green colored skin with grey to yellow speckles on the body. The pumpkin’s flesh has a deep yellow color that almost looks like that of the orange shade. It has a nutty flavor that tastes sweet, making this variety perfect for preparing salads and soups.
3. Queensland Blue Pumpkin – One of the most flavorful varieties of the pumpkin is the Queensland Blue one. Because it is mostly dry, you can make dehydrated pumpkin using this variety easily. The flesh of the vegetable has a bluish-grey color with deeper ribs.
4. Golden Nugget pumpkin – Golden nuggets are the ones you can see during the festival of Halloween. The size and the bright orange skin is unmissable.
5. Jarrahdale pumpkin – Jarrahdale has a similar structure as that of the Queensland Blue, but the former has lighter ribs. It is a moist pumpkin, and hence drying it will be a bit difficult.
Ways For Dehydrating Pumpkin Using Various Tools
Now since you know about the various types of this vegetable, it’s time to discuss how you can make dehydrate pumpkin for year-long use. Here, we have discussed five different ways in which you can carry out the process. So, let’s find out how to dry a pumpkin for a cuisine change in your kitchen without wasting time.
Sun-Dried Pumpkin
For preparing a sun dried pumpkin, you need to choose a dry variety like the Queensland Blue or the Butternut squash. This will speed up the process since the moisture content is relatively low and dehydration will be quicker.
- Select a fresh pumpkin and cut it into halves. Using a spoon, scoop out the soft tendrils and flesh from the inside. You also need to remove the seeds before you can use the pumpkin slices.
- Cut the pumpkin into thin slices and then dip them in lime water. The presence of citrus acid will prevent the oxidation of the fruit when kept out in the open.
- After a couple of minutes, place a kitchen towel on the pumpkin vegetable tray. Take out the pumpkin slices from the lime juice and then arrange them on the towel in a single row. Since the vegetable is usually soft, you need to make a single layer to maximize the flow of air and heat between the adjacent slices.
- You can either cover the tray with a black paper or clean glass. Both these elements will speed up the process of dehydrating pumpkin. An additional cover will also protect the vegetable slices from bugs and insects since you will have to leave them out in the open for several days.
- Once all the arrangement is made, place the pumpkin fruit tray under direct sunlight and make sure the air around the place is dry and warm. Leave the tray for at least a week. Do not forget to flip the pumpkin slices every five hours during the day time.
- You need to keep the tray out in the open air till the slices are getting hardened and brittle.
Freeze Dried Pumpkin
You can use a freezer for this process. Here are the steps you have to follow if you are willing to prepare frozen and dehydrated pumpkin.
- After removing the peel from the pumpkin, cut it into slices. You need average thickness in pieces in this process, which is neither too thick nor too thin.
- Once you get your slices, put them in a bowl of lime juice or any other juice made from citrus fruit. The acid will prevent the oxidation of the flesh, thereby helping it to retain its color.
- Use a freezer tray and place a paper towel on the surface. This will avoid the sticking of the slices to the tray’s material. Once the setting is done, take out the slices from lime juice and place them on the towel. Make sure to leave ample space between two slices, which will allow the proper flow of the cold air across the tray.
- Set the freezer temperature to the lowest value and then leave the tray inside for at least a month. The lowest temperature has an advantage. It will prevent the loss of the nutrients from the pumpkin slices, and promote the vaporization of the entire water content.
Dried Out Pumpkin In The Microwave Oven
For making a dehydrated pumpkin using a microwave oven, you need to follow these steps chronologically.
- Remove the tender flesh, the tendrils, and the seeds from the pumpkin’s insides using a spoon or a knife. Once the surface is cleared of all these extra elements, peel off the skin and then cut the pumpkin into thin slices.
- After the cutting is done, place the slices in the lime water. The ascorbic acid present in the juice will prevent the flesh from turning brown due to oxidation.
- Take a proper plate that can hold the maximum number of pumpkin slices at the same time. After straining the slices, arrange them in a single layer on the dehydrator tray for oven. You have to leave a lot of space between these adjacent slices to flow the heated air throughout the dehydrating process properly.
- Set the temperature to the high setting and leave the tray inside for at least twenty minutes. It will be better to leave the door slightly ajar so that the moisture build-up can escape the oven’s insides.
- After twenty minutes, take the tray out and check whether the dehydrated pumpkin slices are brittle or not. If not, reinsert the tray inside for another ten minutes.
Using A Dehydrator To Dry The Pumpkin
Another popular method of preparing dehydrated pumpkin is putting them inside a food dehydrator machine. It is a special kind of kitchen appliance that is solely used to dry various vegetables, fruits, herbs, and other moisture elements.
- After cutting the vegetable into slices, you will have to leave them in lime water for at least ten minutes. The vegetable will soak the juice, and the ascorbic acid present in the water will prevent the flesh from undergoing oxidation.
- Place a kitchen towel over the dehydrator tray and then arrange the pumpkin slices in a single row. Ensure you are leaving an ample amount of space between the slices to make the best dehydrated pumpkin.
- Set the dehydrator’s temperature to a hundred and fifty to a hundred and sixty-five degrees Fahrenheit and insert the trays into the appliance. You need to set the timer of the dehydrator to ten to twelve hours, at least.
- Once the timer goes off, take out the tray and check whether your dehydrated pumpkin feels like a crispy chip or not. If not, you will have to reinsert the tray into the dehydrator for another two-three hours.
Also Read: 7 Awesome Benefits Of Pumpkin Seeds |Ways To Consume & Roast?
Oven-Dried Pumpkin
The last step of preparing a dehydrated pumpkin is by using an oven for the process. Here are the steps which you have to follow in proper order:
- Place the sliced pumpkin in the lime water to stop the flesh from getting a brownish color due to the oxidation process. Also, the lime water will help in preserving the essential nutrients in the vegetable.
- Now, place a paper towel on the oven tray and arrange the slices in a single row. Make sure to leave a gap between the adjacent pieces to allow the flow of heat and air uniformly.
- Keep the temperature of the oven between a hundred and forty to hundred and sixty degrees Fahrenheit. Also, set the timer to three to four hours and then insert the tray into the oven.
- After the timer goes off, take the tray out and check whether the slices are brittle. If not, you need to reinsert the tray once again for another hour to prepare the best dried out pumpkin.
Preserving Dehydrated Pumpkin
For preserving the pumpkin, there are several methods that depend on the drying process you choose. For instance:
- Airtight containers can be used to store the oven-dried and microwave oven-dried pumpkin slices.
- Freeze-dried slices can be stored in the vapor-proof cartons or the bags specifically made for the freezer.
- Sub dried slices can be placed in an airtight container or a zip lock bag from where all the air has been drawn.
Recipes Where Pumpkin Can Be Used In A Dry Form
Here, we have presented specific recipes that you can make in your routine with the dried version of the pumpkin vegetable.
- Pumpkin chips that can be made from butternut squash or the Queensland Blue variety. Season them according to taste.
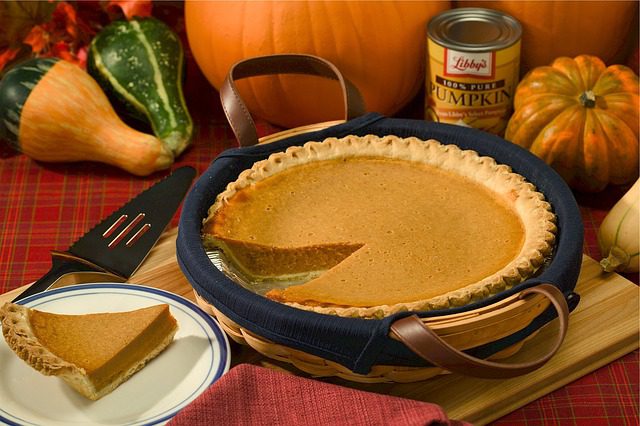
- Dry pumpkin cubes for bringing a crunch in a pie.
- Infusing the pumpkin flavors in the gnocchi.
- Using the drying pumpkin as a crunchy element in the soup.
- Blending the brittle pumpkin slices to prepare the pumpkin flour.
- Putting the pumpkin chips in your breakfast green salad for the extra crunch
- Using the dried pumpkin as a tuile in your dessert.
Conclusion
Using dehydrated pumpkin in the cuisine has become a trend in recent years. So, with this guide, you can now master your culinary skills and make some delicious recipes with the brittle, hard, pumpkin slices, and chips. In this article, we have discussed almost everything you need to prepare and store the dried pumpkins.
Learning about the dehydrated pumpkins and how to make them is quite adventurous. And since there are five different varieties of the vegetable, making your dried collection is more fun. All you need to do is choose the best method and get on with it.
